I have been working on a new spring/summer table scape for dining in The Hut (FYI, I will be doing a post on The Hut soon for those of you that wonder what in the word I am blabbering about). As I was kicking around ideas for this table I realized I needed some new glasses that would help tie it all together. Fine, I didn't need them but I wanted them :)
Since I have been on a painting kick as of late, I decided to paint them to coordinate with some placemats that I just love and we the foundation of the tablecape. So I made a trip to my local dollar store and picked up these glasses (whoops, I just realized I don't have a pic of the glasses before I got busy on them so you will have to use your imagination here). I love unwrapping so it was awesome having them bagged (I know, I knew what was inside but I still was excited!).
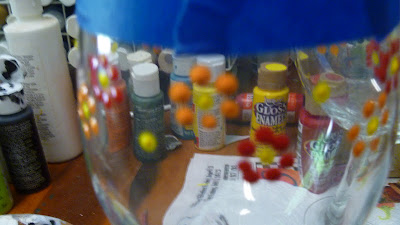
Okay, here we go. I used painters tape to give me a guideline because as anyone that knows me will tell you, I don't see straight. I used the end of a paint brush for my dots but you can use the tool of your choice. A line of yellow dots first.
A line of yellow dots first.
I added "petals" with dots of different colors....and then more dots to fill in.
After I kept adding and adding (I don't ever seem to find a good stopping spot so Mini decided when enough was enough) it was off to the oven to bake. I put them in a cold oven to bake at 300 degrees for 25 minutes. Please, please, please do not touch them or move them until they are completely cool, trust me I learned this the hard way long ago!
All finished. I think they are going to look great on the new tablescape.
Until then they are hanging out in my Fiesta Ware china cabinet and they look adorable!
Thanks for stopping by for a visit. I hope everyone has a great Monday and a wonderful week! I am joining Susan at Between Naps on the Porch for Met Monday and Kim at Savy Southern Style for Wow Us Wednesdays.


Very Cute! dropping by from Between Naps on the Porch
ReplyDeleteCan't believe that I missed this one! I love this and now of course and purely dying to copycat you. I'm pinning it for future reference so I know who to shout out if I blog about it.
ReplyDeleteSuper!
And glad to see you. I have been chin deep in outdoor work too. It's hard to blog or even read when you are bone tired from it, huh?